Change These Settings to Extend Your New iPhone Air's Battery Life
Did you know you can customize Google to filter out garbage? Take these steps for better search results, including adding my work at Lifehacker as a preferred source__.
The iPhone Air is a brand-new type of phone for Apple, shrinking down the iPhone’s internals into the thinnest form factor yet, at just 0.22 inches thick. Despite all that, Apple is promising up to 27 hours of video playback, which is just three hours fewer than it’s estimating for the iPhone 17.
Honestly, I'm skeptical—and I’m not alone in that. Most of the phones I test don’t quite live up to their official battery life estimates, which are always done in ideal conditions and usually come with a number of caveats. It's possible the iPhone Air will have significant battery shortcoming compared to the other new iPhones, which I'll confirm when I've been able to test it. But despite not getting extended time with the phone, I have gotten to hold the iPhone Air, and I will admit that it feels downright magical in the hand, almost like a credit card that can make phone calls.
I won’t blame you if you’re willing to sacrifice some battery life or camera potential to snag one for yourself, but if you do, here are the settings you’ll want to turn on to eke out some extra battery life.
Low Power Mode
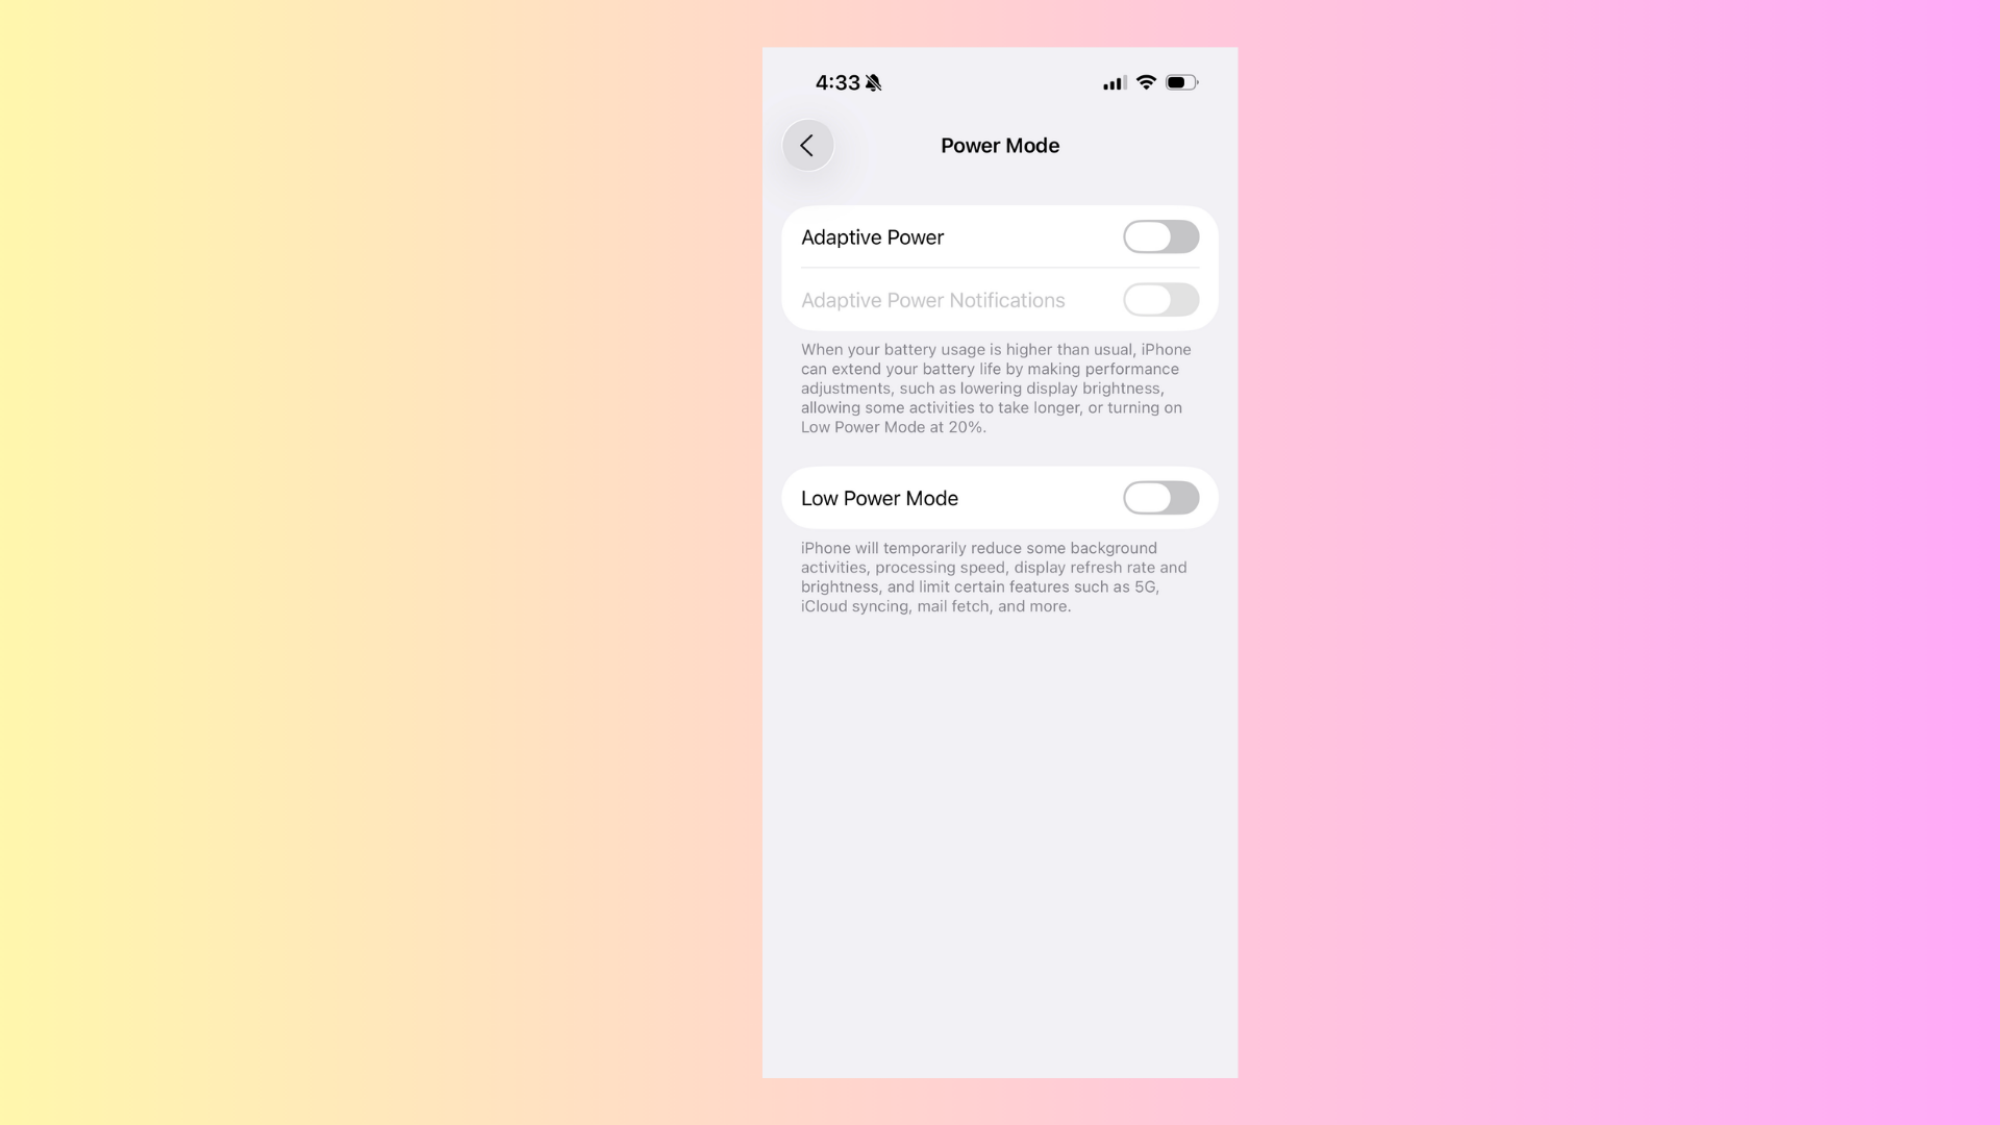
The most obvious way to extend battery life on your phone is to turn on Low Power Mode. On an iPhone, doing so is as simple as swiping down from your Home Screen’s top right corner and tapping the battery icon in the control center (or you can go to Settings > Battery > Power Mode and toggle on Low Power Mode from there).
This will make the most battery life-extending changes for you, but will also come with the biggest hits to performance and usability. That means it’ll reduce your background activities, lower your refresh rate and brightness, and limit features like 5G and iCloud syncing. It’ll also cut some animations and start automatically locking your phone after 30 seconds of inactivity. Essentially, it’s probably not how you’ll want to use your phone most of the time, but it can help in a pinch.
Adaptive Power mode
Adaptive Power mode is kind of like a less aggressive Low Power Mode. You’ll find it in the same menu as Low Power Mode, under Settings > Battery > Power Mode, although you’ll need an iPhone 15 Pro or above and iOS 26 to access it.
When enabled, this will use Apple Intelligence to adjust your phone’s performance on the fly, rather than immediately battening down all hatches like Low Power Mode. Based on your usage patterns, it’ll attempt to predict when you’ll need more battery life than usual, and will make tweaks like stopping background apps from refreshing, lowering screen brightness by 3%, or just generally making “performance adjustments.” How it works is all very new and behind the Apple curtain for now, but the idea is that while you’re only meant to turn Low Power Mode on when you absolutely need it, you can set Adaptive Power mode and forget it. And it’s not one-or-the-other, either. You can still use Low Power Mode in addition to Adaptive Power Mode. In fact, if your phone is at less than 20% battery, Adaptive Power Mode will turn Low Power Mode on for you.
The catch? Adaptive Power Mode needs seven days to learn your charging habits, so you’ll need to enable it at least a week before you actually want to use it.
Turn down your brightness

Let’s say you don’t trust Apple’s various power modes to adjust your phone’s settings for you, or you only want to limit a few things. That’s totally an option. In that case, let’s start with brightness. Keeping your phone at max brightness all the time isn’t just eye-searing, but it’ll also drain your battery faster. That’s why you’ll probably want to turn it down to just what you need for the situation you’re in.
You’ve got a few options here. The easiest is to simply swipe down from your Home Screen’s top right corner, then adjust your brightness using the slider with the sun icon on it. If you prefer to adjust your brightness in the Settings app, you can head over to Settings > Display & Brightness and scroll down until you see the slider there. You’ll see a bunch of other options here, but they’re more about color temperature, and won’t actually help you adjust your brightness (although we will return to them later on in this guide).
But if you’re like me, manually controlling your brightness all the time will get a bit tiring. That’s why I prefer to turn on Auto-Brightness. Simply toggle it on under Settings > Accessibility > Display & Text Size > Auto-Brightness, and your phone will automatically lower the brightness when you’re in a dark environment or turn it up while you’re surrounded by sunlight. It gives you a bit less control, but it’s pretty convenient.
Turn down the amount of time until your phone auto-locks
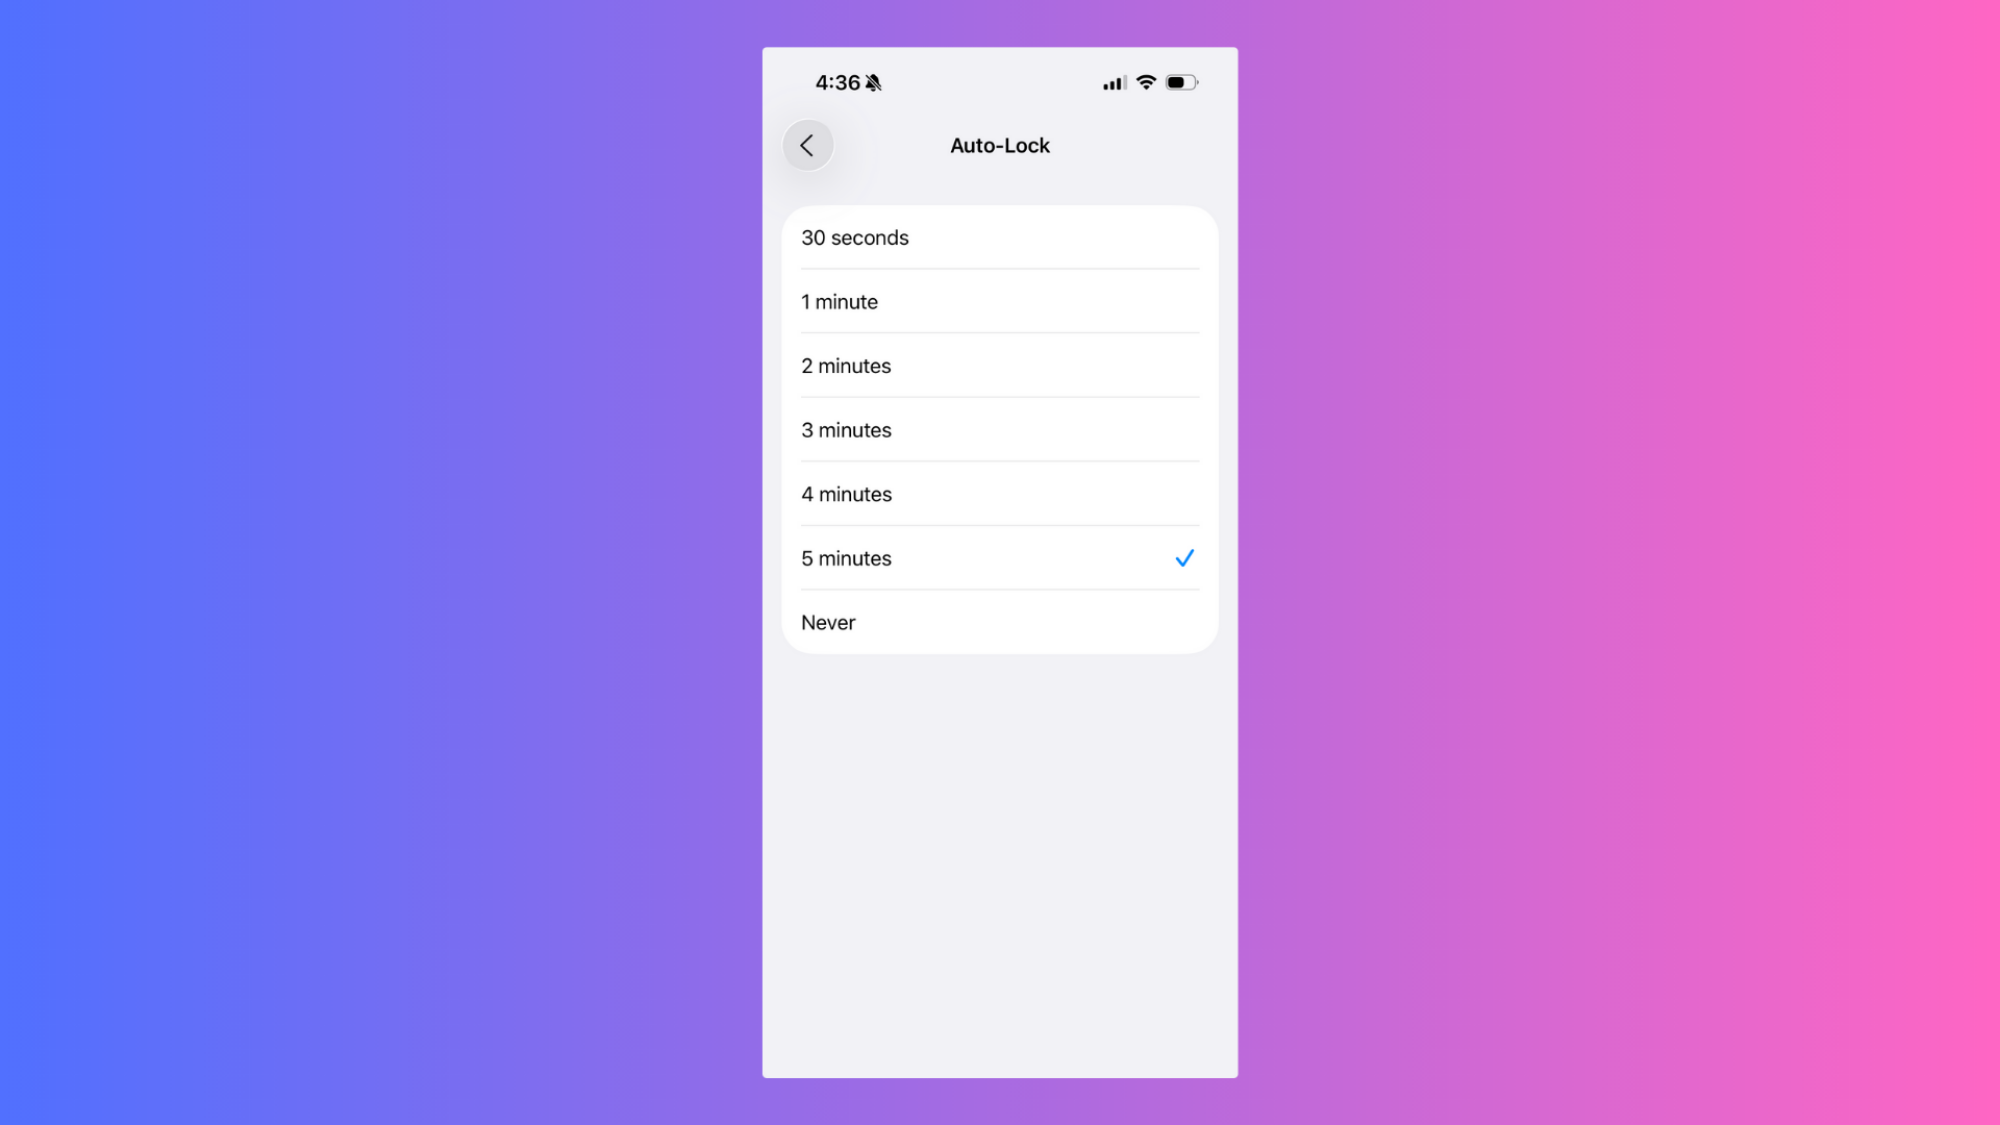
Back in Settings > Display & Brightness, you’ll see a toggle called Auto-Lock. This is what kicks you out of your phone and back to your lock screen after a certain amount of inactivity. Personally, I like to leave it at five minutes, so I can safely read long articles or check recipes while cooking without being kicked out for not tapping the screen enough. But that does drain my battery faster.
To eke out more battery life from your phone, try turning it down to the 30-second or one-minute mark. You might need to remind your phone that you’re there more often than you’d like, but it’ll keep you from needlessly draining your battery if you accidentally get up and leave your phone behind without locking it first.
And don’t worry: even with the auto-lock set to its strictest settings, it won’t lock the screen while you’re watching a video or playing a game.
Turn off the always-on display
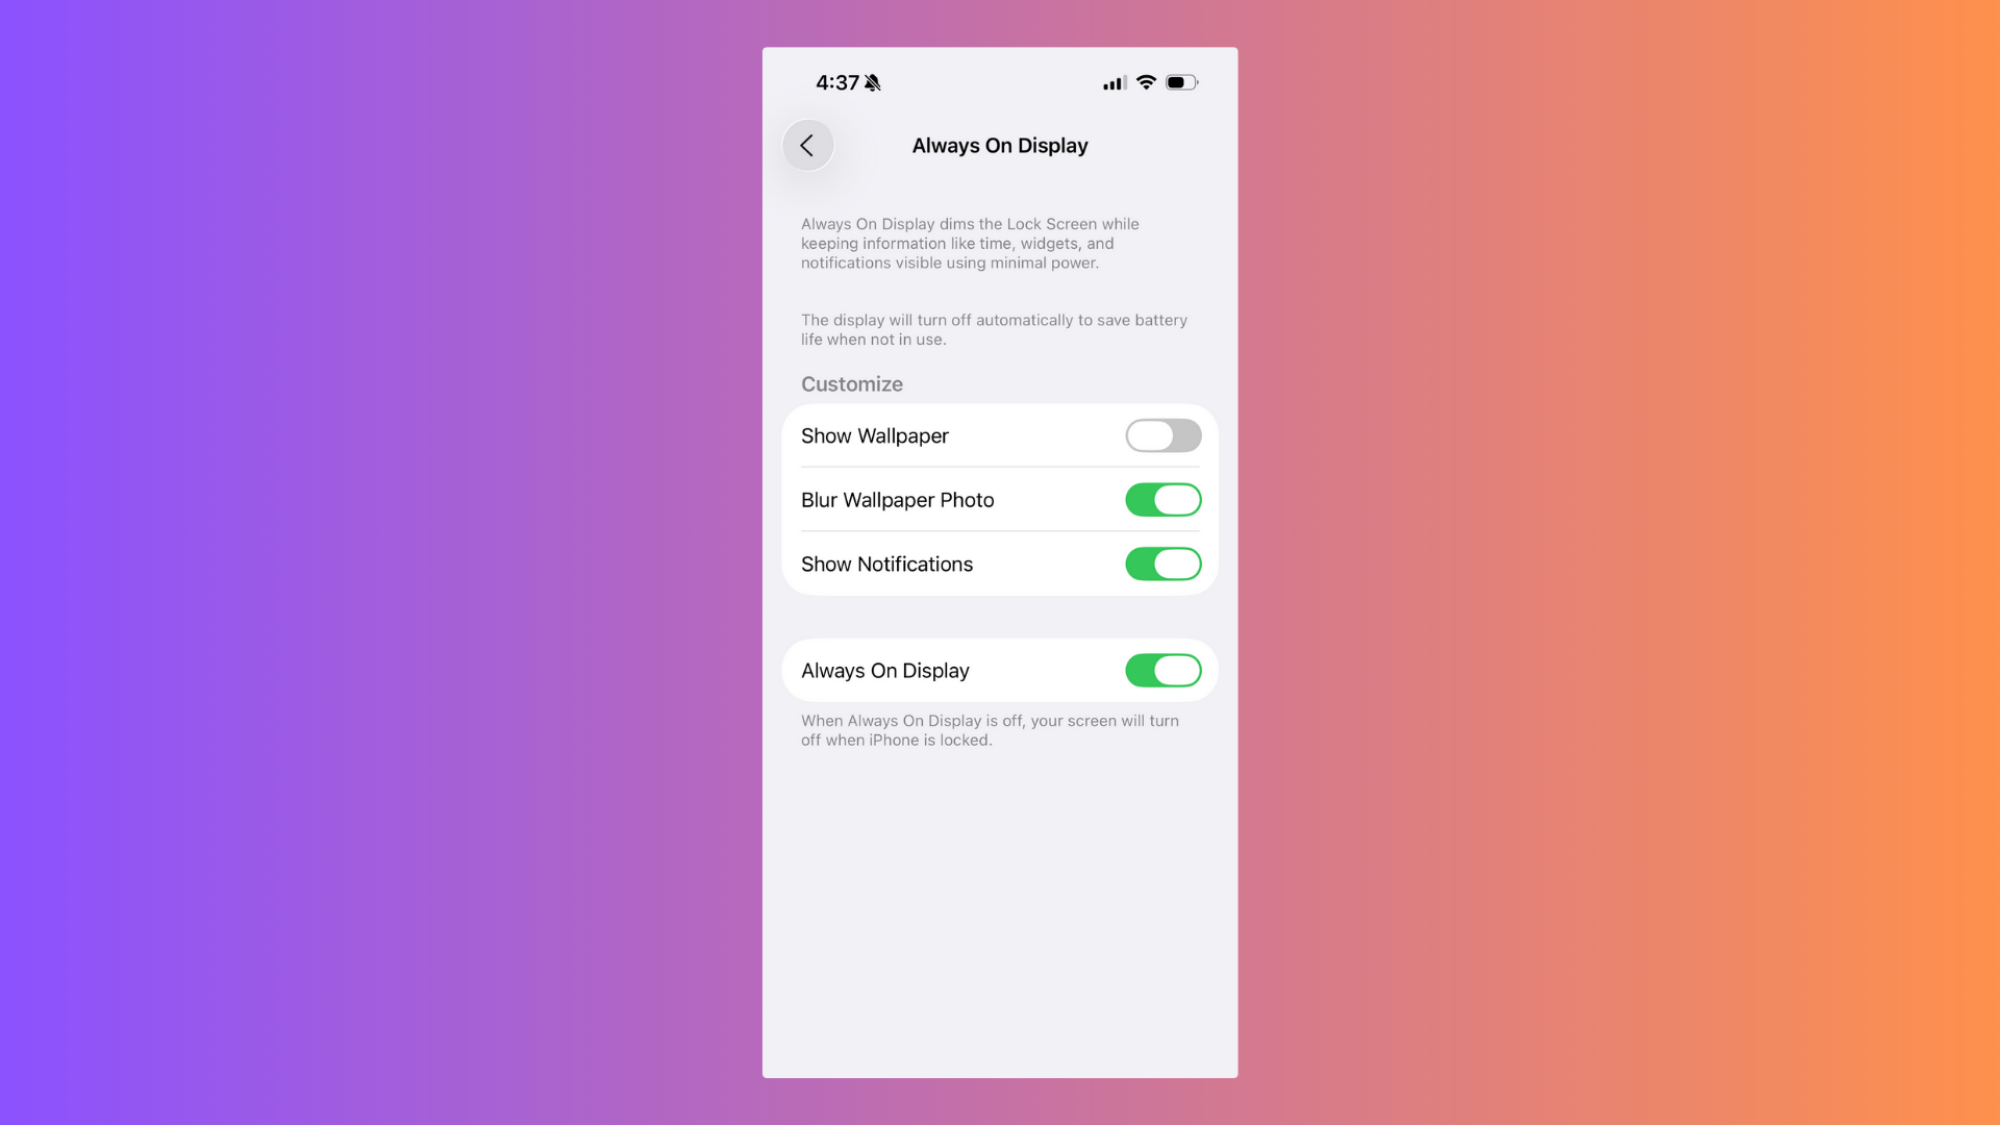
The iPhone’s always-on display, added with the iPhone 14 Pro, is one of my favorite things about Apple’s most recent iPhone models, since it makes it easy to check notifications or the time at a glance. But it will drain your battery, even if it’s set to a low, 1Hz refresh rate.
To turn it off, again head to Settings > Display & Brightness, then tap Always On Display and toggle off Always On Display at the bottom of the menu that pops up. If you want to compromise, you can simply toggle off Show Wallpaper at the top of the same menu. This will keep the always on display on, but everything except for the clock and your widgets will be black. That’ll save you some battery life needed to display color, which brings me to my next tip.
Turn on Dark Mode
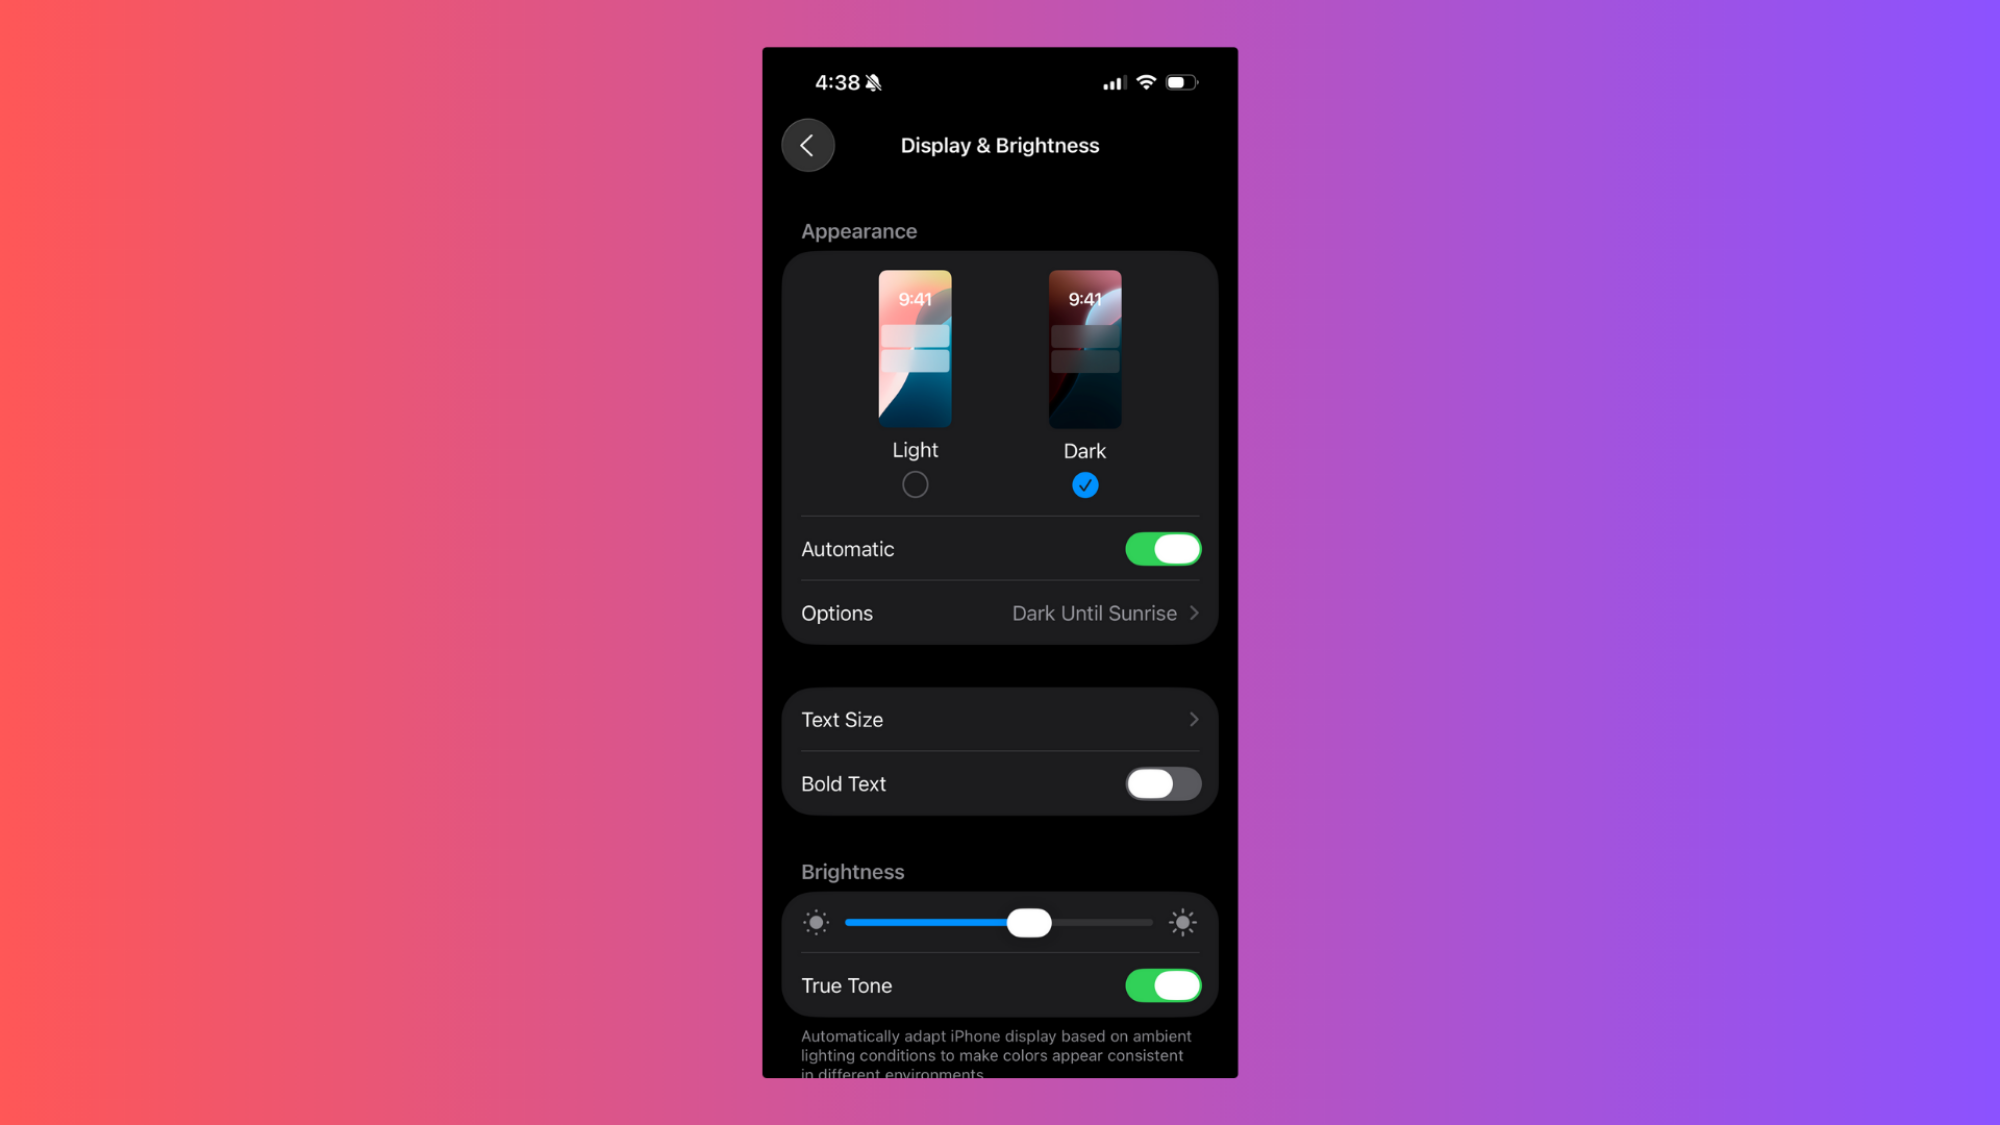
Here’s my final tip for Settings > Display & Brightness. At the top of this page, you’ll be able to select whether you want your phone in Light Mode or Dark Mode. If you want to save battery life, choose Dark Mode. That’s because the iPhone uses an OLED screen, so each individual pixel is self-illuminating. If a pixel only needs to display black, it just won’t turn on, saving you battery life.
Dark Mode won’t work across all apps, but in ones that support it, it’ll swap your background to black, which should help your phone last longer over time.
Manage your data consumption
Connecting to a network to use data actually drains more power than wifi, because a cellular connection requires a stronger signal over long distances. That means, to save battery life on your iPhone, you’ll want to be a bit strict about data consumption.
What do you think so far?
You’ve got a few options here. The easiest is to simply turn off data altogether, by swiping down from the Home Screen and turning off the small green data icon next to the Bluetooth icon in the top left corner. This will turn off data altogether, but because it doesn’t discriminate between apps, it’s not ideal for everyday use.
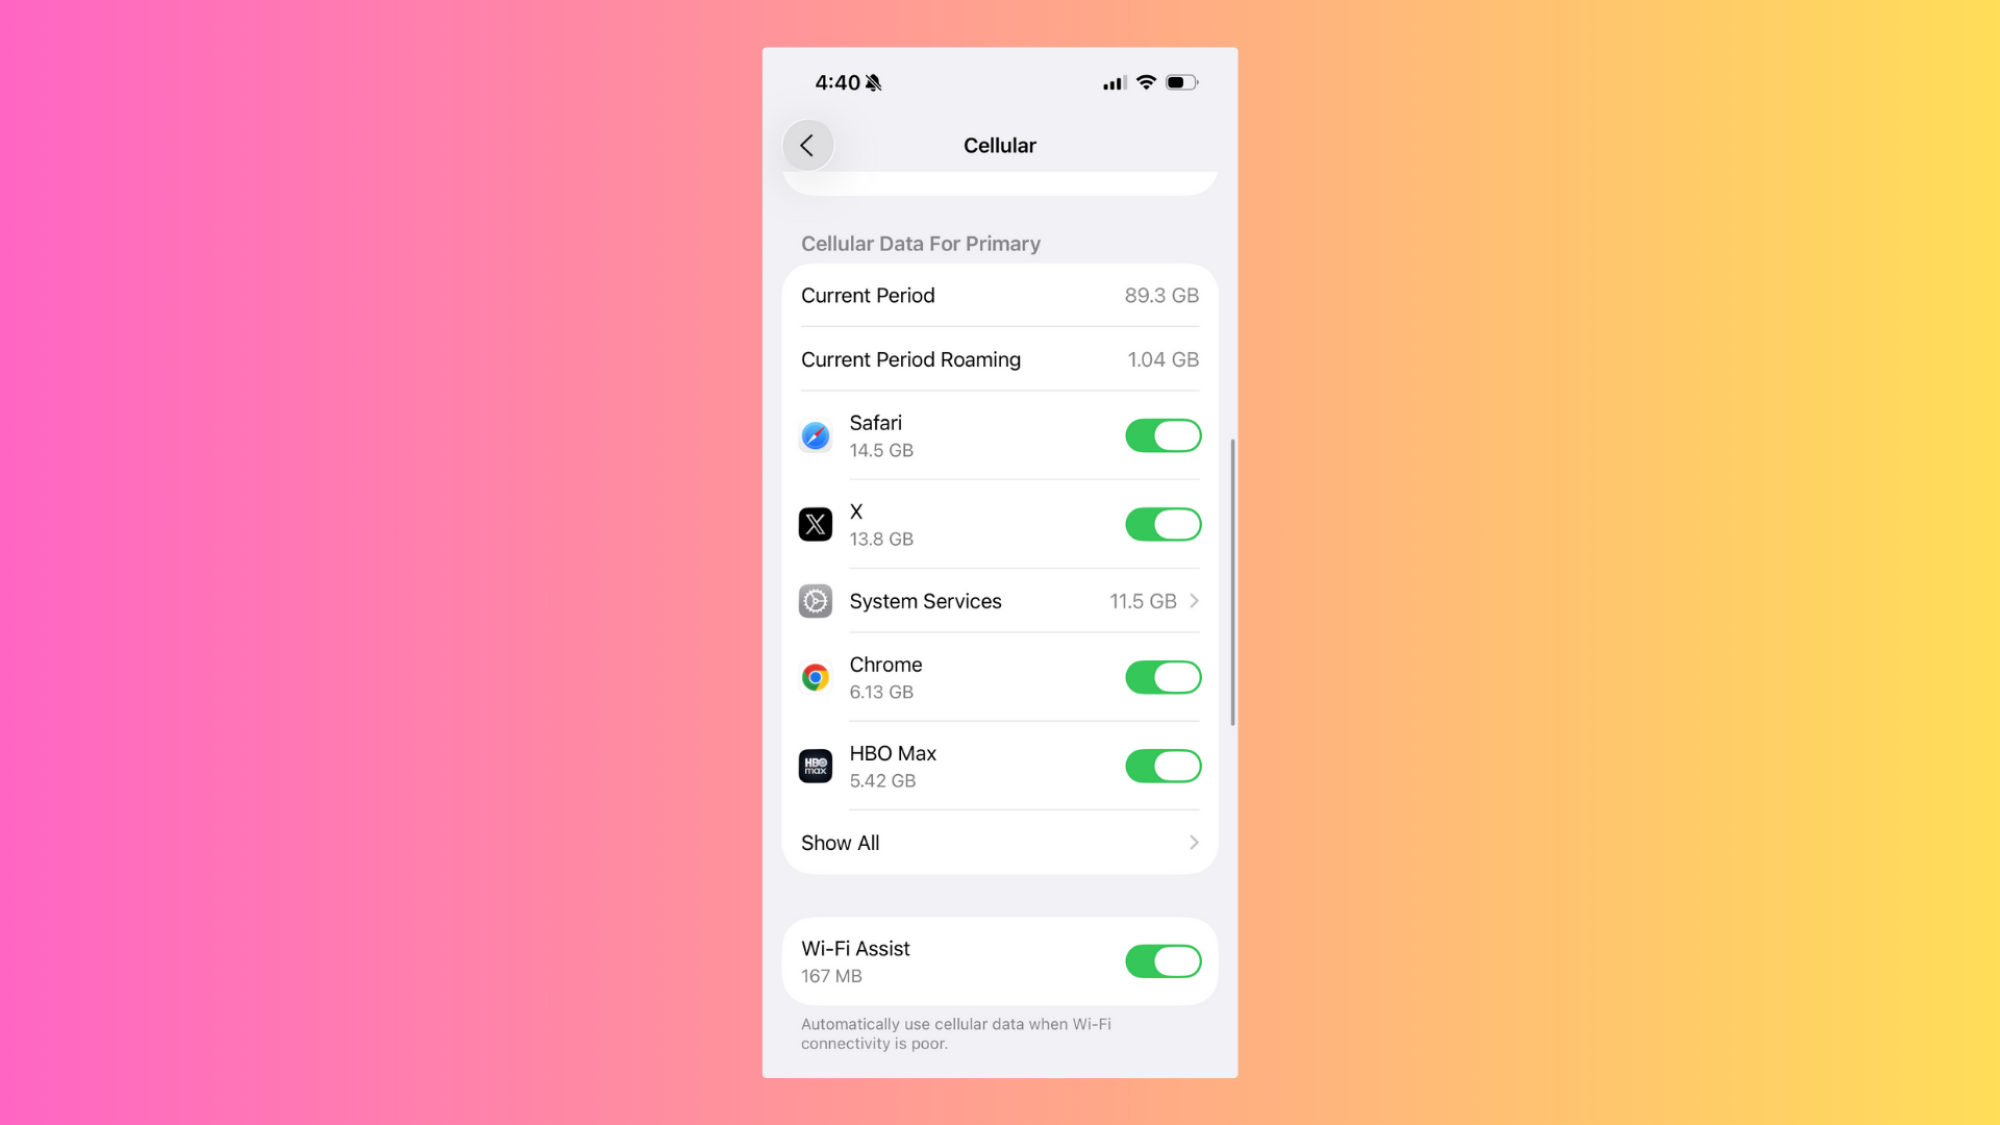
To be a bit more specific with how your iPhone uses data, you’ll need to navigate to Settings > Cellular. Here, you’ve got a few controls at your fingertips.
The easiest choice to make here is disabling Wi-Fi Assist, which supplements your wifi with data connection when it’s running slow. Since our goal here is to reduce our reliance on data, having it on isn’t ideal.
You might also want to turn off iCloud Drive and iCloud Backup, which will use your cell network to transfer and backup files to iCloud when wifi isn’t available.
Above these toggles, you’ll also be able to see your most data hungry apps and restrict their access to your network. This can be helpful even if you’re not trying to increase battery life, as you can probably cut down on unnecessary data usage here as well.
Finally, let’s enable Wi-Fi Calling. This will allow your phone to make calls over the internet while you’re connected to wifi, saving you some cellular data. Head back to the main Settings menu, then scroll down to Apps > Phone. Here, scroll down to Calls and ensure Wi-Fi Calling is turned on. If you want to, you can even scroll up and uncheck Cellular Data under Allow Phone to Access, although this will keep you from making calls unless you’re connected to wifi.
Manage background app refresh
Just because you’ve navigated away from an app on your iPhone doesn’t mean it isn’t running anymore. Instead, plenty of apps will continue to refresh in the background, updating their content but also draining your battery. Luckily, you have a few choices here.
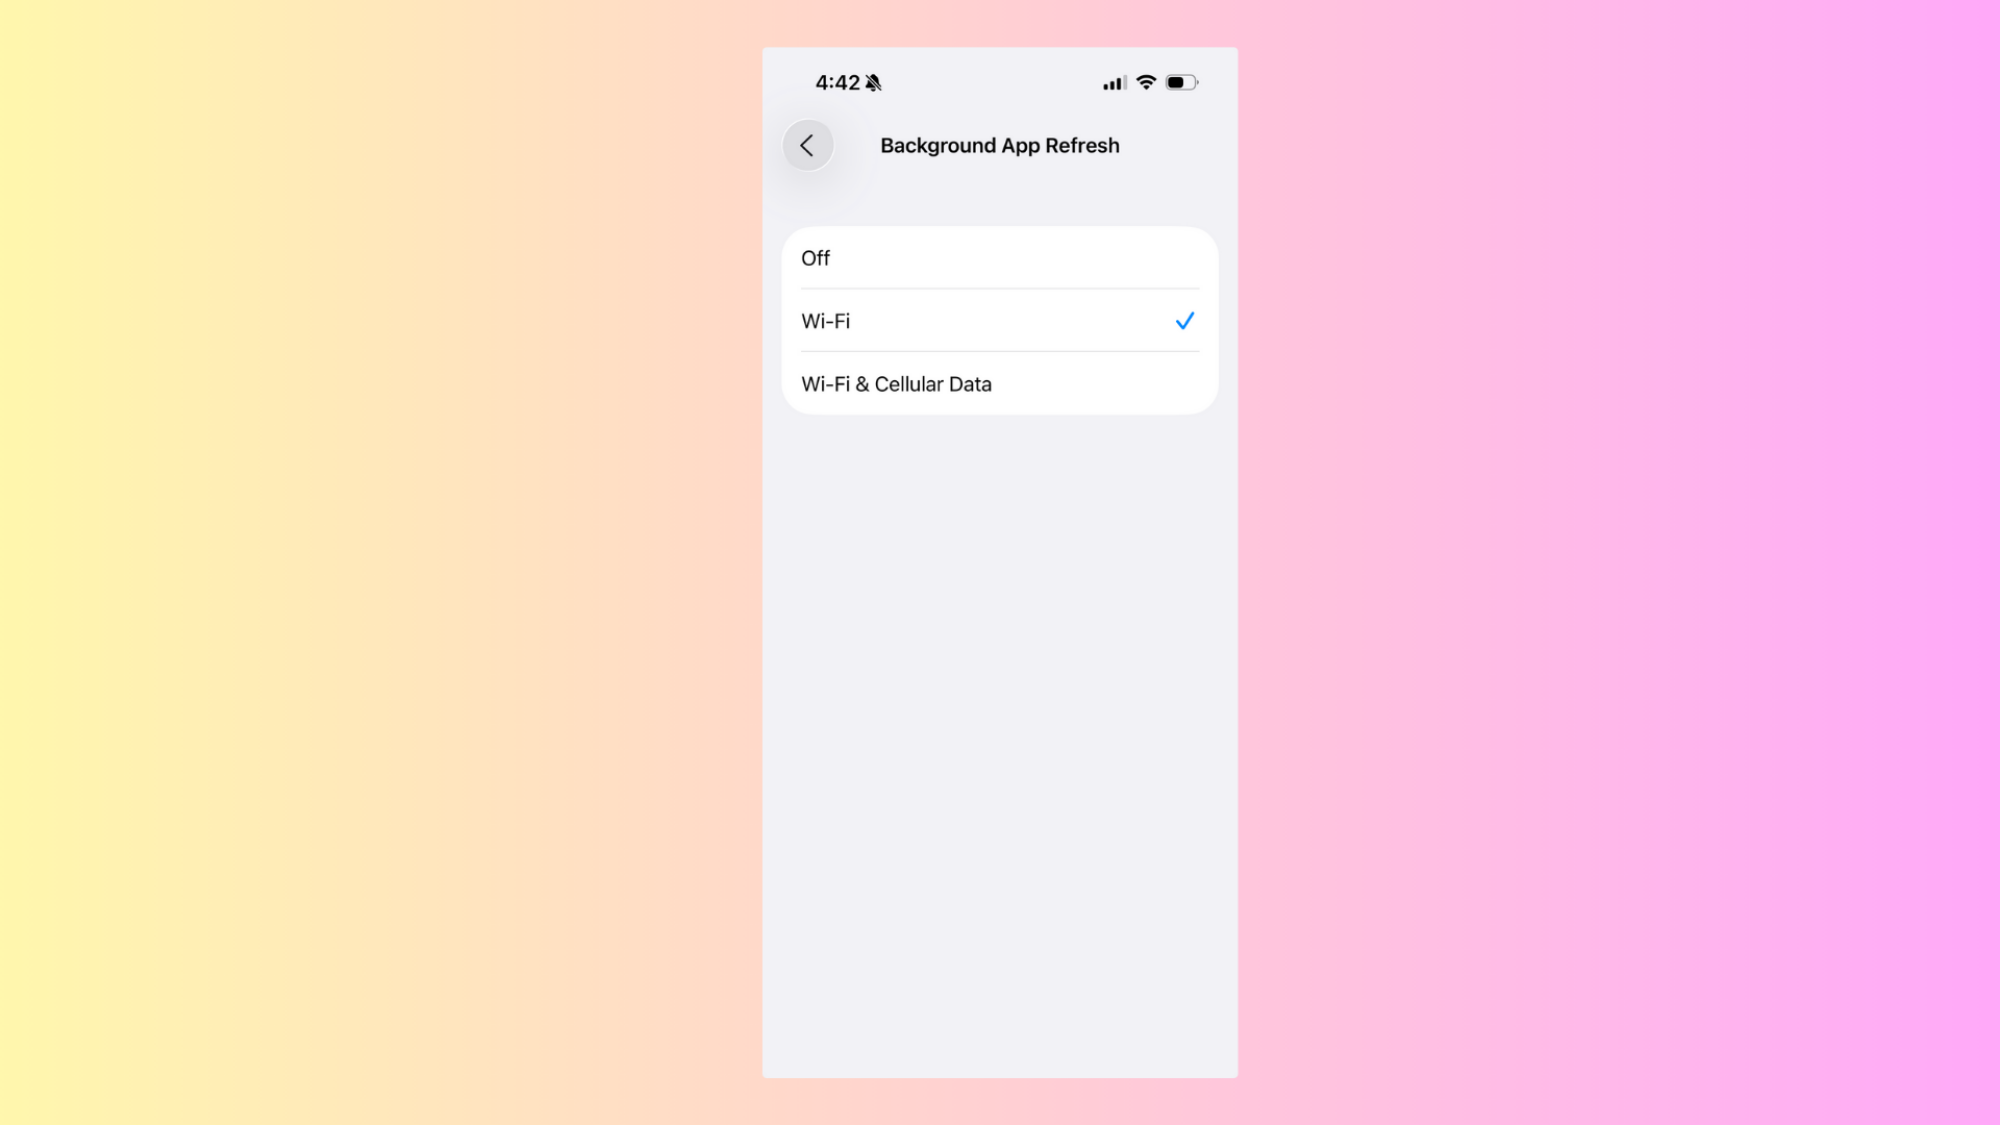
To see your options, head to Settings > General > Background App Refresh. You’ll see your phone’s general approach to refreshing apps in the background, as well as toggles for every app on your phone.
Click the Background App Refresh button in the menu and you can choose whether to turn it off, keep it on all the time, or only enable it when you’re on wifi. Off is the most battery efficient option, but if you’re not that strict, you can also choose Wi-Fi to at least keep the feature from using your data (which, again, drains more battery).
With that done, if you’ve left the feature on, you can now scroll through your list of apps and select which apps you want to allow to refresh in the background. This could save you some battery life if you don’t want to turn the feature off altogether, but do want to disable it for certain hungry apps. Unfortunately, unlike with the Cellular Data menu, you won’t see how hungry your apps are here, so you’ll have to guess.
Just buy an external battery pack
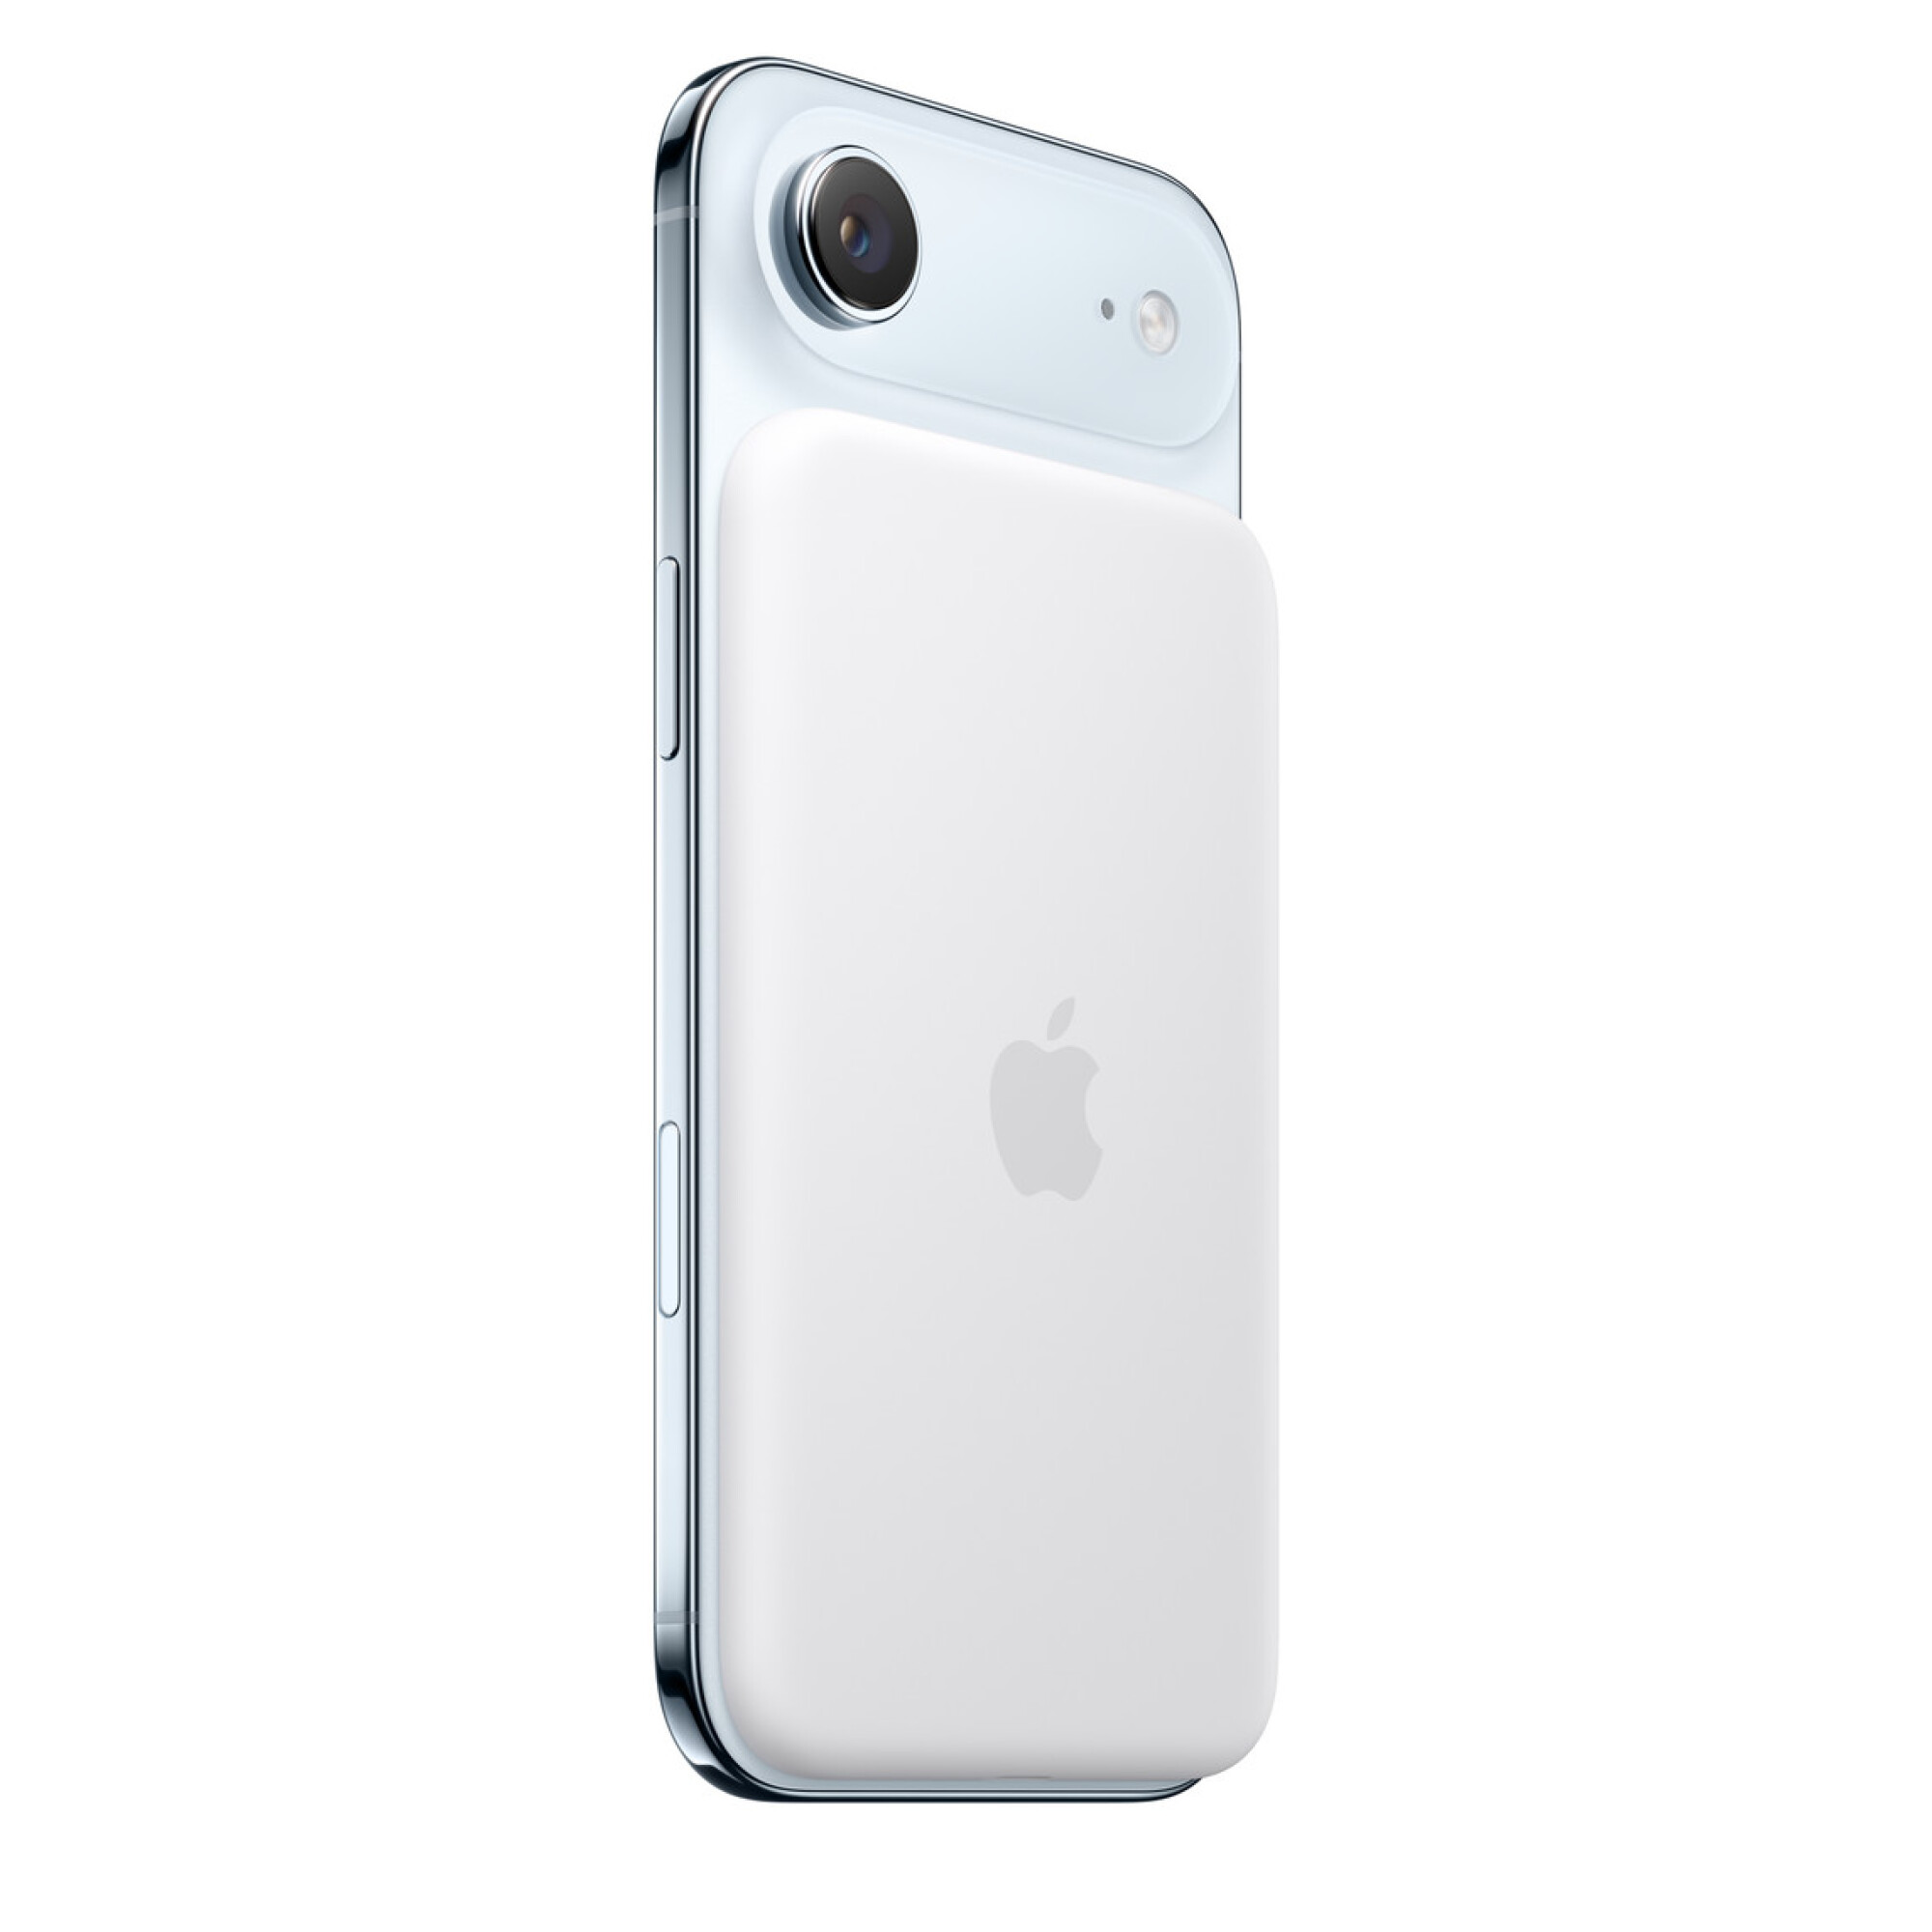
Finally, you could just give up and buy an external power pack. The iPhone Air will work with any external batteries that your other iPhones do, and despite being so thin, it will securely attach to compatible batteries via MagSafe. As much as I hate to suggest “just spend more money” as an option, Apple doesn’t share that concern. In fact, it’s even made a MagSafe battery designed specifically for the iPhone Air, which it says will give you “65 percent additional charge” while still maintaining a slim profile.
It costs $100, and whether that’s worth it to you will depend on your priorities. Personally, I’m not quite sure myself, since you’d presumably be buying the iPhone Air because it’s thin and light. If that’s the case, why slap an external battery on it? But I can also see why you’d want a MagSafe battery some of the time and a slim form factor at other times. Just be aware: This battery is a bit tall, so it won’t fit vertically on either the iPhone 17 or iPhone 17 Pro.